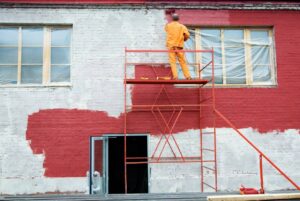
A paint job is only as good as the surface beneath it. Proper wall preparation tips are what separate a finish that lasts a decade from one that starts peeling within months. Whether you’re tackling a DIY weekend project or planning to hire professionals, understanding how to prep walls for painting is the single most important step you can take. At Qpaintings, our St. Catharines painters never pick up a brush without thorough surface prep — and neither should you.
Why Wall Preparation Matters for Interior Painting
Most paint failures — peeling, bubbling, uneven color — aren’t caused by bad paint. They’re caused by skipped prep steps. A clean, smooth, primed wall gives paint something to hold onto. Rushing this phase wastes time, money, and materials. Follow these five wall preparation tips and your results will look professional every time.
1. Clean Walls Thoroughly Before Painting
Paint will not bond to a dirty surface. Dust, grease, cobwebs, and fingerprints all prevent proper adhesion. Using a sponge, mild dish soap, and warm water, scrub the entire wall surface from top to bottom. Rinse with clean water and allow the wall to dry completely — at least 24 hours — before moving to the next step.
Pro tip: Kitchens and bathrooms need extra attention. Cooking grease and soap scum build up invisibly and are a leading cause of paint peeling near cabinets and sinks. Use a degreaser like TSP (trisodium phosphate) substitute for heavy buildup.
2. Repair All Holes, Cracks, and Surface Imperfections
Every nail hole, hairline crack, and dent will show through fresh paint — often more visibly than before. Fill small nail holes with lightweight spackle using a putty knife. For larger holes or stress cracks, apply joint compound in thin layers, allowing each coat to dry fully before sanding smooth.
For walls with significant water damage, impact holes, or structural cracking, consider professional drywall repair in St. Catharines before proceeding. Painting over damaged drywall only hides problems temporarily — they always resurface.
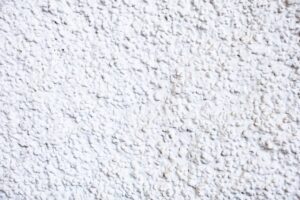
3. Sand for Adhesion — The Most Overlooked Wall Preparation Tip
This step is skipped more than any other, and it’s the #1 cause of peeling paint on previously painted walls. Lightly sanding the surface with 120–150 grit sandpaper creates a slightly rough texture that gives primer and paint something to grip. This is especially important on:
- Glossy or semi-gloss painted walls
- Previously painted trim or woodwork
- Any area where you’ve applied spackle or joint compound
After sanding, wipe down all surfaces with a tack cloth or damp microfiber cloth to remove every trace of dust. Dust particles trapped under paint create a gritty, uneven finish that no amount of extra coats can fix.
4. Apply Painter’s Tape and Protect Trim, Floors, and Fixtures
Precision masking is what separates a clean, professional-looking paint job from a messy one. Before opening a single can, mask off:
- Baseboards and crown molding
- Window frames and door casings
- Electrical outlets and switch plates (remove covers entirely when possible)
- Light fixtures and ceiling fans
Use canvas drop cloths on floors — not plastic sheeting, which is slippery and doesn’t absorb spills. Apply tape slowly and press it down firmly along the edge for crisp lines wherever walls meet trim painting or door painting areas. Remove tape at a 45° angle while the paint is still slightly wet for the cleanest edge.
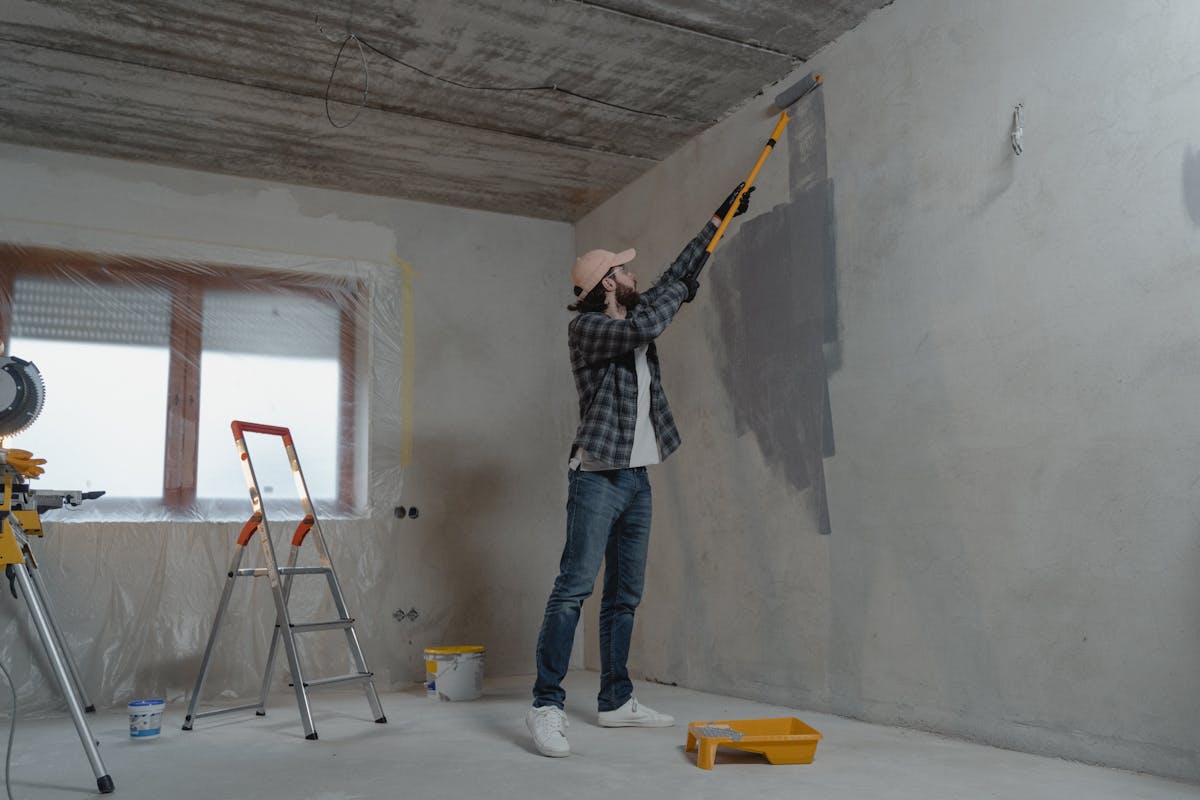
5. Prime the Surface — Especially on New Drywall and Dark Colors
Primer is not optional — it’s the foundation your topcoat depends on. It seals porous surfaces, blocks stains, evens out sheen differences, and ensures true color payoff. Skipping primer often means needing three or four topcoats to achieve coverage that two coats over primer would have delivered.
Choose the right primer for your situation:
- New drywall: PVA (polyvinyl acetate) primer seals the paper face and prevents uneven absorption
- Water stains or smoke damage: Shellac-based or oil-based stain-blocking primer (water-based primers won’t block tannin bleed-through)
- Dark colors being painted over with light: Tinted gray primer reduces the number of topcoats needed
- Previously painted surfaces in good condition: A quality latex bonding primer is usually sufficient
This is one wall preparation tip that DIYers routinely skip — and professional painters never do.
DIY Wall Prep vs. Hiring a Professional Painter in St. Catharines
DIY wall preparation can save money if you have the time, tools, and patience. You’ll need sanding poles, a sturdy ladder, quality painter’s tape, drop cloths, and at least a full day per room just for prep. The trade-off is clear: improper sanding or missed repairs will show through the final coat, meaning more time and money correcting mistakes.
Professional interior painting in St. Catharines with Qpaintings includes full surface preparation — cleaning, patching, sanding, taping, and priming — before a single drop of paint is applied. You get a flawless, durable result without giving up your weekends.
Frequently Asked Questions About Wall Prep Before Painting
Do I really need to prime walls before painting?
Yes — especially on new drywall, stained surfaces, or when making dramatic color changes. Primer improves adhesion, blocks stains, and reduces the number of topcoats needed for full coverage.
How long should walls dry after washing before painting?
Allow at least 24 hours for walls to dry completely after washing. In humid conditions (like bathrooms), wait longer. Painting over damp surfaces is a leading cause of blistering and peeling.
What grit sandpaper should I use for wall prep?
Use 120–150 grit sandpaper for general scuffing of existing paint. Use 220 grit for final smoothing over spackle or joint compound repairs before priming.
Helpful External Resources
- Sherwin-Williams: Complete Wall Preparation Guide
- Family Handyman: How to Prep Walls for Painting Step by Step
Ready for a Flawless Finish? Get Your Free Quote Today
Skip the prep stress and let Qpaintings handle everything from surface repair to final coat. We serve all of St. Catharines and the Niagara region with fully prepped, professionally painted results — guaranteed.
Contact us today for a free estimate on interior painting, cabinet painting, or exterior painting in St. Catharines.